Showing posts with label Holiday Crafts. Show all posts

Tuesday, September 18, 2012

Fall Letter Blocks

*Fall Letter Blocks*
Supplies:
2x4 wood
Saw
Sander
Mod Podge
Scrap book paper
Paper cutter or scissors
Cricut to cut your letters or stencils or stickers
Small glue pen
Foam brush
Ribbons, jewel, anything you want to decorate your blocks with

Here are the 2 sets we made for fall!

First cut your long piece of wood to the size blocks you want.  We used a miter saw, but others will work.   Then sand the wood down.  I sanded the corners down to give them a rounded appearance.  You can use a hand sander, but to the make the project easier I used a belt sander.


Sanded and cut blocks

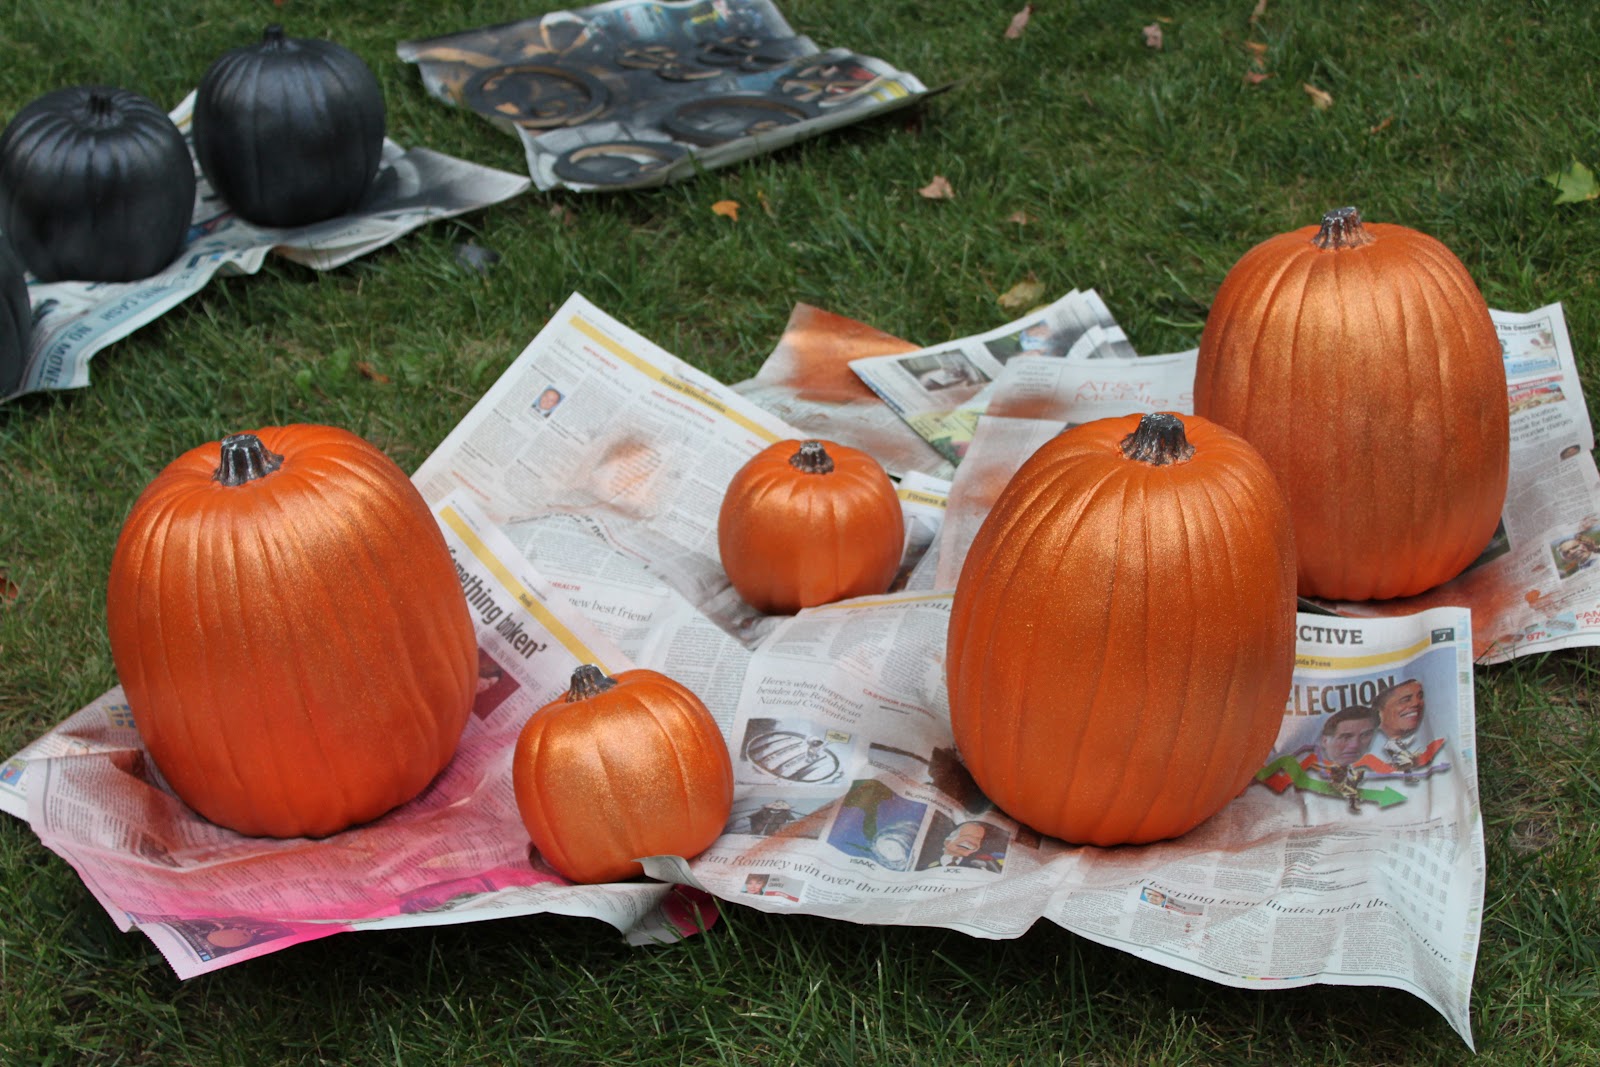
You can leave the blocks plain or paint them.  We left the Give Thanks blocks plain and the spooky blocks we painted black.


Once the paint has dried cut your background decorative paper to fit the front of the blocks, then mod podge it on by painting the mod podge onto the block and smoothing the paper square on top of it.


Next cut out your paper letters from a cricut or other source.  
Use a small glue pen on the back of the letter and stick it to the block.
Then mod podge over the entire letter and scrapbook paper square, smoothing out all the bumps. Allow to dry completely, it will dry clear.
Lastly, add whatever embellishments you want to make it cute and finished!


Sunday, September 16, 2012

Pumpkin Tree

*Creating a Pumpkin Tree*
Supplies you will need:
Fake Pumpkins 3 different sizes, 1 black 2 orange (We found ours at Michales)
Krylon Glitter Blast spray paint orange and black
Wood letters to spell BOO
Drill or small saw
Nail gun
Glue, I like "Goop"
*Optional, pretty pot to sit the pumpkins in and ribbon for the top

Cut a bottom circle out of the top 2 pumpkins...no need to cut it out of the 1st one.  You may use a small hand saw, although the circle won't be pretty or a circular cutter attached to your drill...which my husband just happened to have.

Next, take everything outside and spray paint the pumpkins and letters.  The orange pumpkins should be sprayed orange, the black pumpkin sprayed black.  The "B" and large "O" should be sprayed black and the small "o" should be sprayed orange.  The thicker the paint, the more sparkly they are.


Once the paint had dried, we put the letters onto the pumpkins.  Because of the shape of the pumpkins and letters we had to use a nail gun to attach the letters to the pumpkins.  Then we used the glue "Goop" to glue each layer of pumpkin together and held it for a little while to make sure it stuck.  To finish off the project, you can add a pretty bow then place it in any pot you like : )  


Fall Craft Day

My sister and I have been inspired by Pinterest lately and spent the entire day creating fall decorations...  After a 2 hour shopping trip to Hobby Lobby and then to Michaels we were ready to go!
Us hard at work late into the night!

Here are our finished projects, they turned out Awesome, even with a few bumps along the way!
Tutorials to follow!